Fixing a Headphone Jack
Fixing a headphone that has a broken jack is easier than many people think. Recently I had a friend bringing his favorite, but old, headphone to the Hackerspace to get it working again. It is back in action, and now here’s a quick quide of the steps taken, so other people can do something similar as well.
So, if your headphone connector does not have sound in either ear, or the cable has to be moved around near the jack to have sound, the inner cabling is likely broken there. It is probably the most sensitive part of headphones, not really a surprise.
Snip it: snip the old connector off near the jack. Go to Guanghua computer market or another computer store, to get a new jack that could be assembled. Make sure that the connector part (the metal area, the part plugged in) is the same length (from tip to metal base), and has the same number of metal bands.
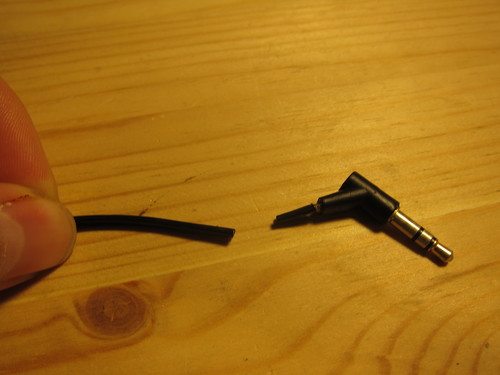
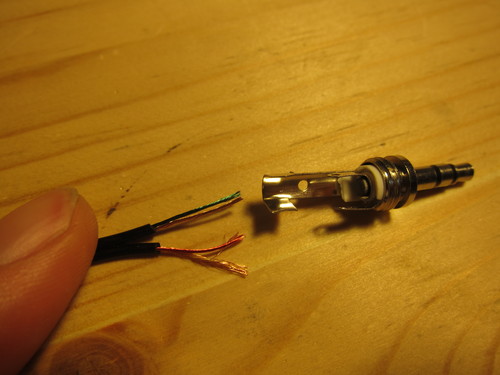
Prepare the new jack: the connector should have some kind of outside cover, screw it off and thread the cable in it. If your cable has two lines attached to each other, separate them for 2-3cm length. Strip off the outside plastic cover with a wire stripper: I used AWG18 setting, or just “18”, be careful not to break off the little wire bundles inside.
In one of the lines you should see a green colored bundle and a copper colored one, that belongs to the left ear. The other wire should have a red bundle and a copper colored one, which belongs to the right ear. The color is coming from the enamel coating on the copper wire (even the copper colored one as well!), that is to insulate the wires from each other. This coating makes it a bit trickier to solder later, but not much harder.
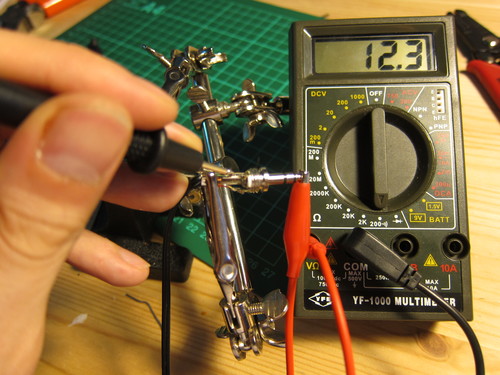
The jack should have a couple of connectors exposed by the cover you’ve screwed off: the biggest one is the ground, that connects to the base of the plugged in area. The tip of the jack is the left ear, the second from the tip is the right. On the back, usually the middle electrode connects to the tip, the one further outside of the center is the second, and so on. If you are not sure which connects where, use a multimeter to make check the connections by touching the metal bands on the plug in area and the back.
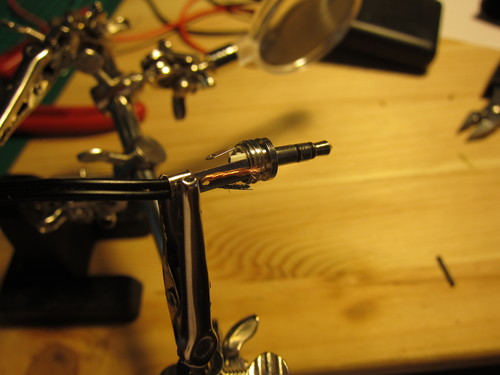
Ready to solder: can use a “third hand” to hold the jack. Roll the two copper colored lines (the ground lines) together and thread them in the ground connection (the large electrode), where there should be a hole. Using the soldering iron at normal temperature, add a bit of solder and keep it there for a bit.
The trick is that the hot solder will burn off the enamel coating, so that the electrode can have electronic contact with the wire. You have to heat it enought that the coating is burned off, but not too long that the plastic parts of the jack melt. Maybe a few shorter touches with the soldering iron and let it cool in between? Experiment a bit carefully.
Solder the signal lines: solder the green (left ear) wire to the electrode that connects to the center pin, and the red (right ear) wire to the one connecting to the one below the tip. Thread the line through the hole of the electrode, and do the enamel-burning trick. Make sure that the connector has enough time to cool down so you don’t end up melting it. Make sure you don’t leave connections between the electrodes.
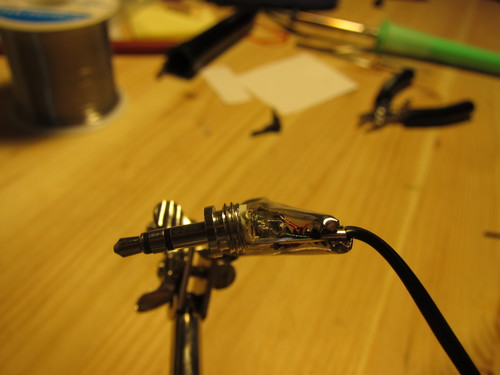
Test the connections: if everything is done well, then the tip band of the jack and the ground connection should have a low resistivity reading, that you can check with a multimeter. The same goes with the band below the tip. Check them out, so you can verify that your soldering has worked.
Screw in the cover: now you have the jack cover that you thread in the wire in the beginning, now it’s time to scew it on - and hopfeully everything worked, if you missed that, you will have to start everything from the beginning. Later plug in / pull out the jack by that vcover to keep it safer and not break it again too easily.
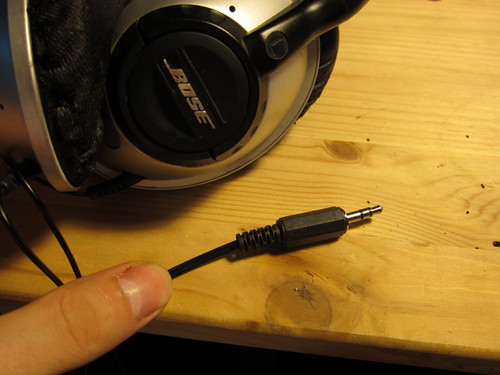
Testing, testing: check it out with some music, make sure that both ears work - if not the soldering didn’t work, go back to that step. Make sure that the left and right side is correct (you can use for example an audio testing video on Youtube) - if not, switch the two sides by unsoldering them and doing it again.
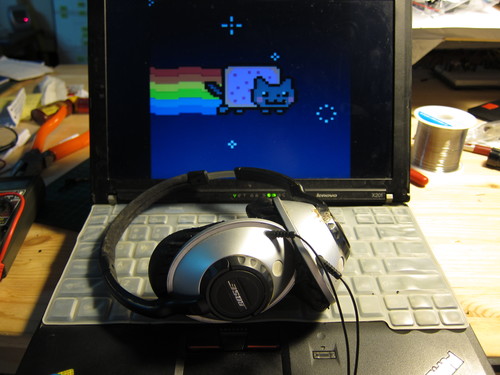
And now, you should have a functional headphone again, that sounds good as new. Enjoy!